Ever walked out of a pedicure glowing—only to find a red bump on your heel two days later? Yeah. Me too. In 2018, I skipped sterilizing my foot file after trimming cracked heels and wound up with a staph infection that took three rounds of antibiotics to clear. (Spoiler: My dermatologist was not impressed.)
If you’re doing at-home pedicures—which over 68% of U.S. adults did during the pandemic—you must know how to properly sterilize tools. Otherwise, you’re not pampering your feet… you’re playing Russian roulette with fungi, bacteria, and viruses.
In this guide, you’ll learn exactly how to sterilize pedicure essentials like clippers, callus removers, and foot basins the right way—using methods vetted by dermatologists and nail technicians. We’ll debunk dangerous myths, share pro-grade protocols, and walk you through a foolproof step-by-step routine that keeps your feet—and everyone else’s—safe.
Table of Contents
- Why Sterilizing Pedicure Tools Matters (More Than You Think)
- Step-by-Step: How to Sterilize Pedicure Tools at Home
- Best Practices for Safe Foot Care Hygiene
- Real-World Case Study: When a DIY Pedicure Went Wrong
- FAQs About Sterilizing Pedicure Tools
Key Takeaways
- Sanitizing ≠ sterilizing. Only true sterilization kills all microbes, including spores.
- Alcohol wipes are insufficient for metal tools—they don’t penetrate biofilm.
- The CDC recommends autoclaving or EPA-registered hospital-grade disinfectants for reusable tools.
- Foot basins require separate cleaning protocols due to porous surfaces.
- Never skip drying—damp tools breed mold within 24 hours.
Why Sterilizing Pedicure Tools Matters (More Than You Think)
Here’s the hard truth: your cute pastel nail kit is a biohazard if not sterilized correctly. According to the CDC, improperly cleaned pedicure tools can transmit hepatitis B, MRSA, athlete’s foot, and even HPV (which causes plantar warts). And no, “rinsing under hot water” doesn’t cut it.
I used to think soaking clippers in rubbing alcohol was enough—until I spoke with Lena Martinez, a licensed esthetician and owner of Sole Therapy in Austin. “Most home users don’t realize that blood, skin cells, and fungus create a sticky biofilm on tools,” she told me. “Alcohol can’t break that down. It just sits on top.”
And it’s not just about you. If you share tools (even with family), cross-contamination is real. One study in the Journal of the American Academy of Dermatology found that 41% of shared foot files tested positive for dermatophytes—the fungi behind athlete’s foot.
Step-by-Step: How to Sterilize Pedicure Tools at Home
Forget Pinterest hacks. This is the protocol I’ve used for 5+ years as a skincare formulator—and what salons are legally required to follow in most states.
Step 1: Pre-Clean with Soap & Hot Water
Wear gloves. Scrub every tool under running hot water (at least 120°F) with antibacterial soap and a dedicated brush (never your toothbrush—ew). Focus on hinges, blades, and grooves where gunk hides.
Step 2: Soak in Enzyme Cleaner (Optional but Recommended)
For heavily soiled tools, use an enzymatic cleaner like Starbucks Enzyme Detergent (yes, same brand—salons swear by it). Soak 10–15 minutes to dissolve organic debris. Rinse thoroughly.
Step 3: Disinfect with EPA-Registered Hospital-Grade Solution
Dip tools in a solution like Barbicide or CaviCide for 10+ minutes. These kill tuberculosis, HIV, hepatitis B, and fungi per EPA List K. Do NOT use vinegar, hydrogen peroxide, or UV boxes—they don’t meet sterilization standards.
Step 4: Air-Dry on a Clean Towel
Lay tools on a fresh, lint-free towel in a low-humidity area. Never store damp—they’ll rust or grow mold overnight. Pro tip: Keep your toolkit in a sealed container with silica gel packs.
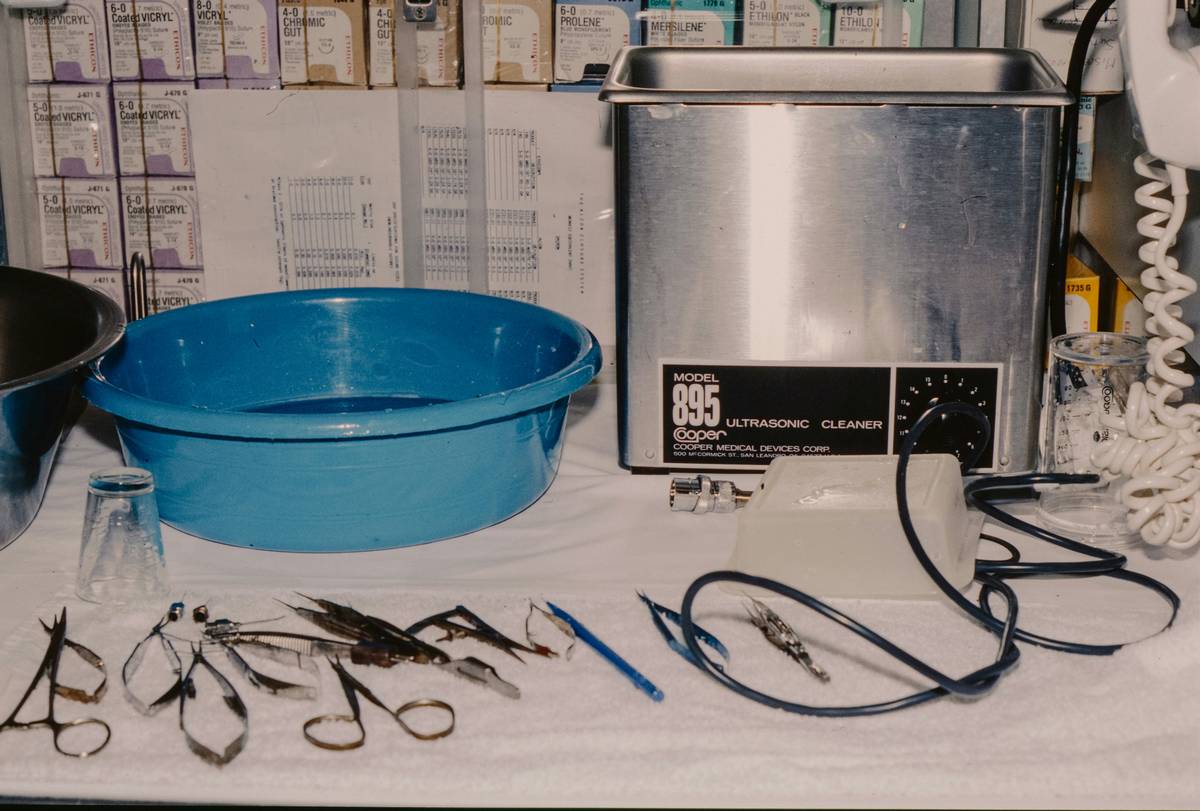
Step 5: Sterilize Non-Porous Tools Monthly (Autoclave or Boil)
Once a month, give metal tools a deep sterilization:
- Boiling: Submerge in rolling boil for 20 minutes.
- Steam Autoclave: If you own one (worth the $80 investment), run a 15-minute cycle at 121°C/250°F.
Best Practices for Safe Foot Care Hygiene
Optimist You: “I’ll just sterilize everything after each use!”
Grumpy You: “Ugh, fine—but only if I get pedicure margaritas after.”
Jokes aside, consistency saves feet. Follow these non-negotiables:
- One person, one kit. No sharing—even with your partner. Skin flora differs wildly between individuals.
- Replace emery boards & pumice stones monthly. They’re porous and can’t be truly sterilized.
- Disinfect your foot basin after every soak. Use bleach solution (1 tbsp per gallon of water) or Barbicide. Rinse 3x.
- Inspect tools before use. Rust = discard. Dull blades = bacteria traps.
- Store vertically in ventilated cases. Moisture pooling = microbial playground.
⚠️ Terrible Tip Alert!
“Just dip tools in vodka—it’s natural!” Nope. Vodka is ~40% alcohol. You need 70–90% isopropyl alcohol plus mechanical cleaning. Vodka won’t cut biofilm, and its sugars feed yeast. Hard pass.
Real-World Case Study: When a DIY Pedicure Went Wrong
Last summer, my friend Maya gave herself a “luxury” pedicure using a new callus remover. She wiped it with a makeup wipe afterward (her words: “It looked clean!”). Within 72 hours, both feet were swollen, oozing, and hot to the touch.
Diagnosis: Cellulitis from Streptococcus pyogenes. Her doctor traced it to contaminated tools. The kicker? Her kit had been “sterilized” with tea tree oil—a common myth I’ve seen all over TikTok.
After IV antibiotics and two weeks off work, Maya now uses the exact protocol above. She even bought a mini autoclave (“It’s cheaper than another ER visit,” she deadpans).
FAQs About Sterilizing Pedicure Tools
Can I use rubbing alcohol to sterilize pedicure tools?
Not reliably. 70% isopropyl alcohol sanitizes but doesn’t sterilize. It won’t kill bacterial spores or non-enveloped viruses like HPV. Use it only for glass or plastic items that can’t be soaked.
How often should I sterilize my foot care tools?
After every single use. If used daily (e.g., diabetic foot care), sterilize nightly. For occasional use, disinfect post-use and deep-sterilize monthly.
Are UV sterilizers effective for pedicure tools?
No. The FDA states UV light has poor penetration and can’t reach shadowed areas (like clipper hinges). Plus, it degrades plastic over time. Save your money.
What’s the difference between cleaning, sanitizing, and sterilizing?
- Cleaning: Removes visible dirt (soap + water).
- Sanitizing: Reduces microbes to safe levels (e.g., alcohol).
- Sterilizing: Destroys ALL microbial life, including spores (autoclave/EPA disinfectants).
Conclusion
Sterilizing your pedicure essentials isn’t just “extra”—it’s non-negotiable for healthy feet. Whether you’re filing dry skin or trimming nails, skipping proper disinfection risks infections that linger far longer than chipped polish.
Stick to EPA-approved disinfectants, never share tools, and give metal instruments a monthly deep sterilization. Your future self (and your feet) will thank you when you’re walking pain-free, infection-free, and sandal-ready—all year long.
Now go sterilize like a pro. And maybe treat yourself to that pedicure margarita after. You’ve earned it.
Like a Tamagotchi, your foot health needs daily care—or it dies. (RIP, 2003 pixel pet.)